If you want to see the video version of this mod plus more details on some of the other mods I've done, please visit http://outermods.xkill.com where you can purchase the video/DVD.
The basic idea was to place a complete computer inside a toy/model of the Millenium Falcon. I had several items that I decided I must have:
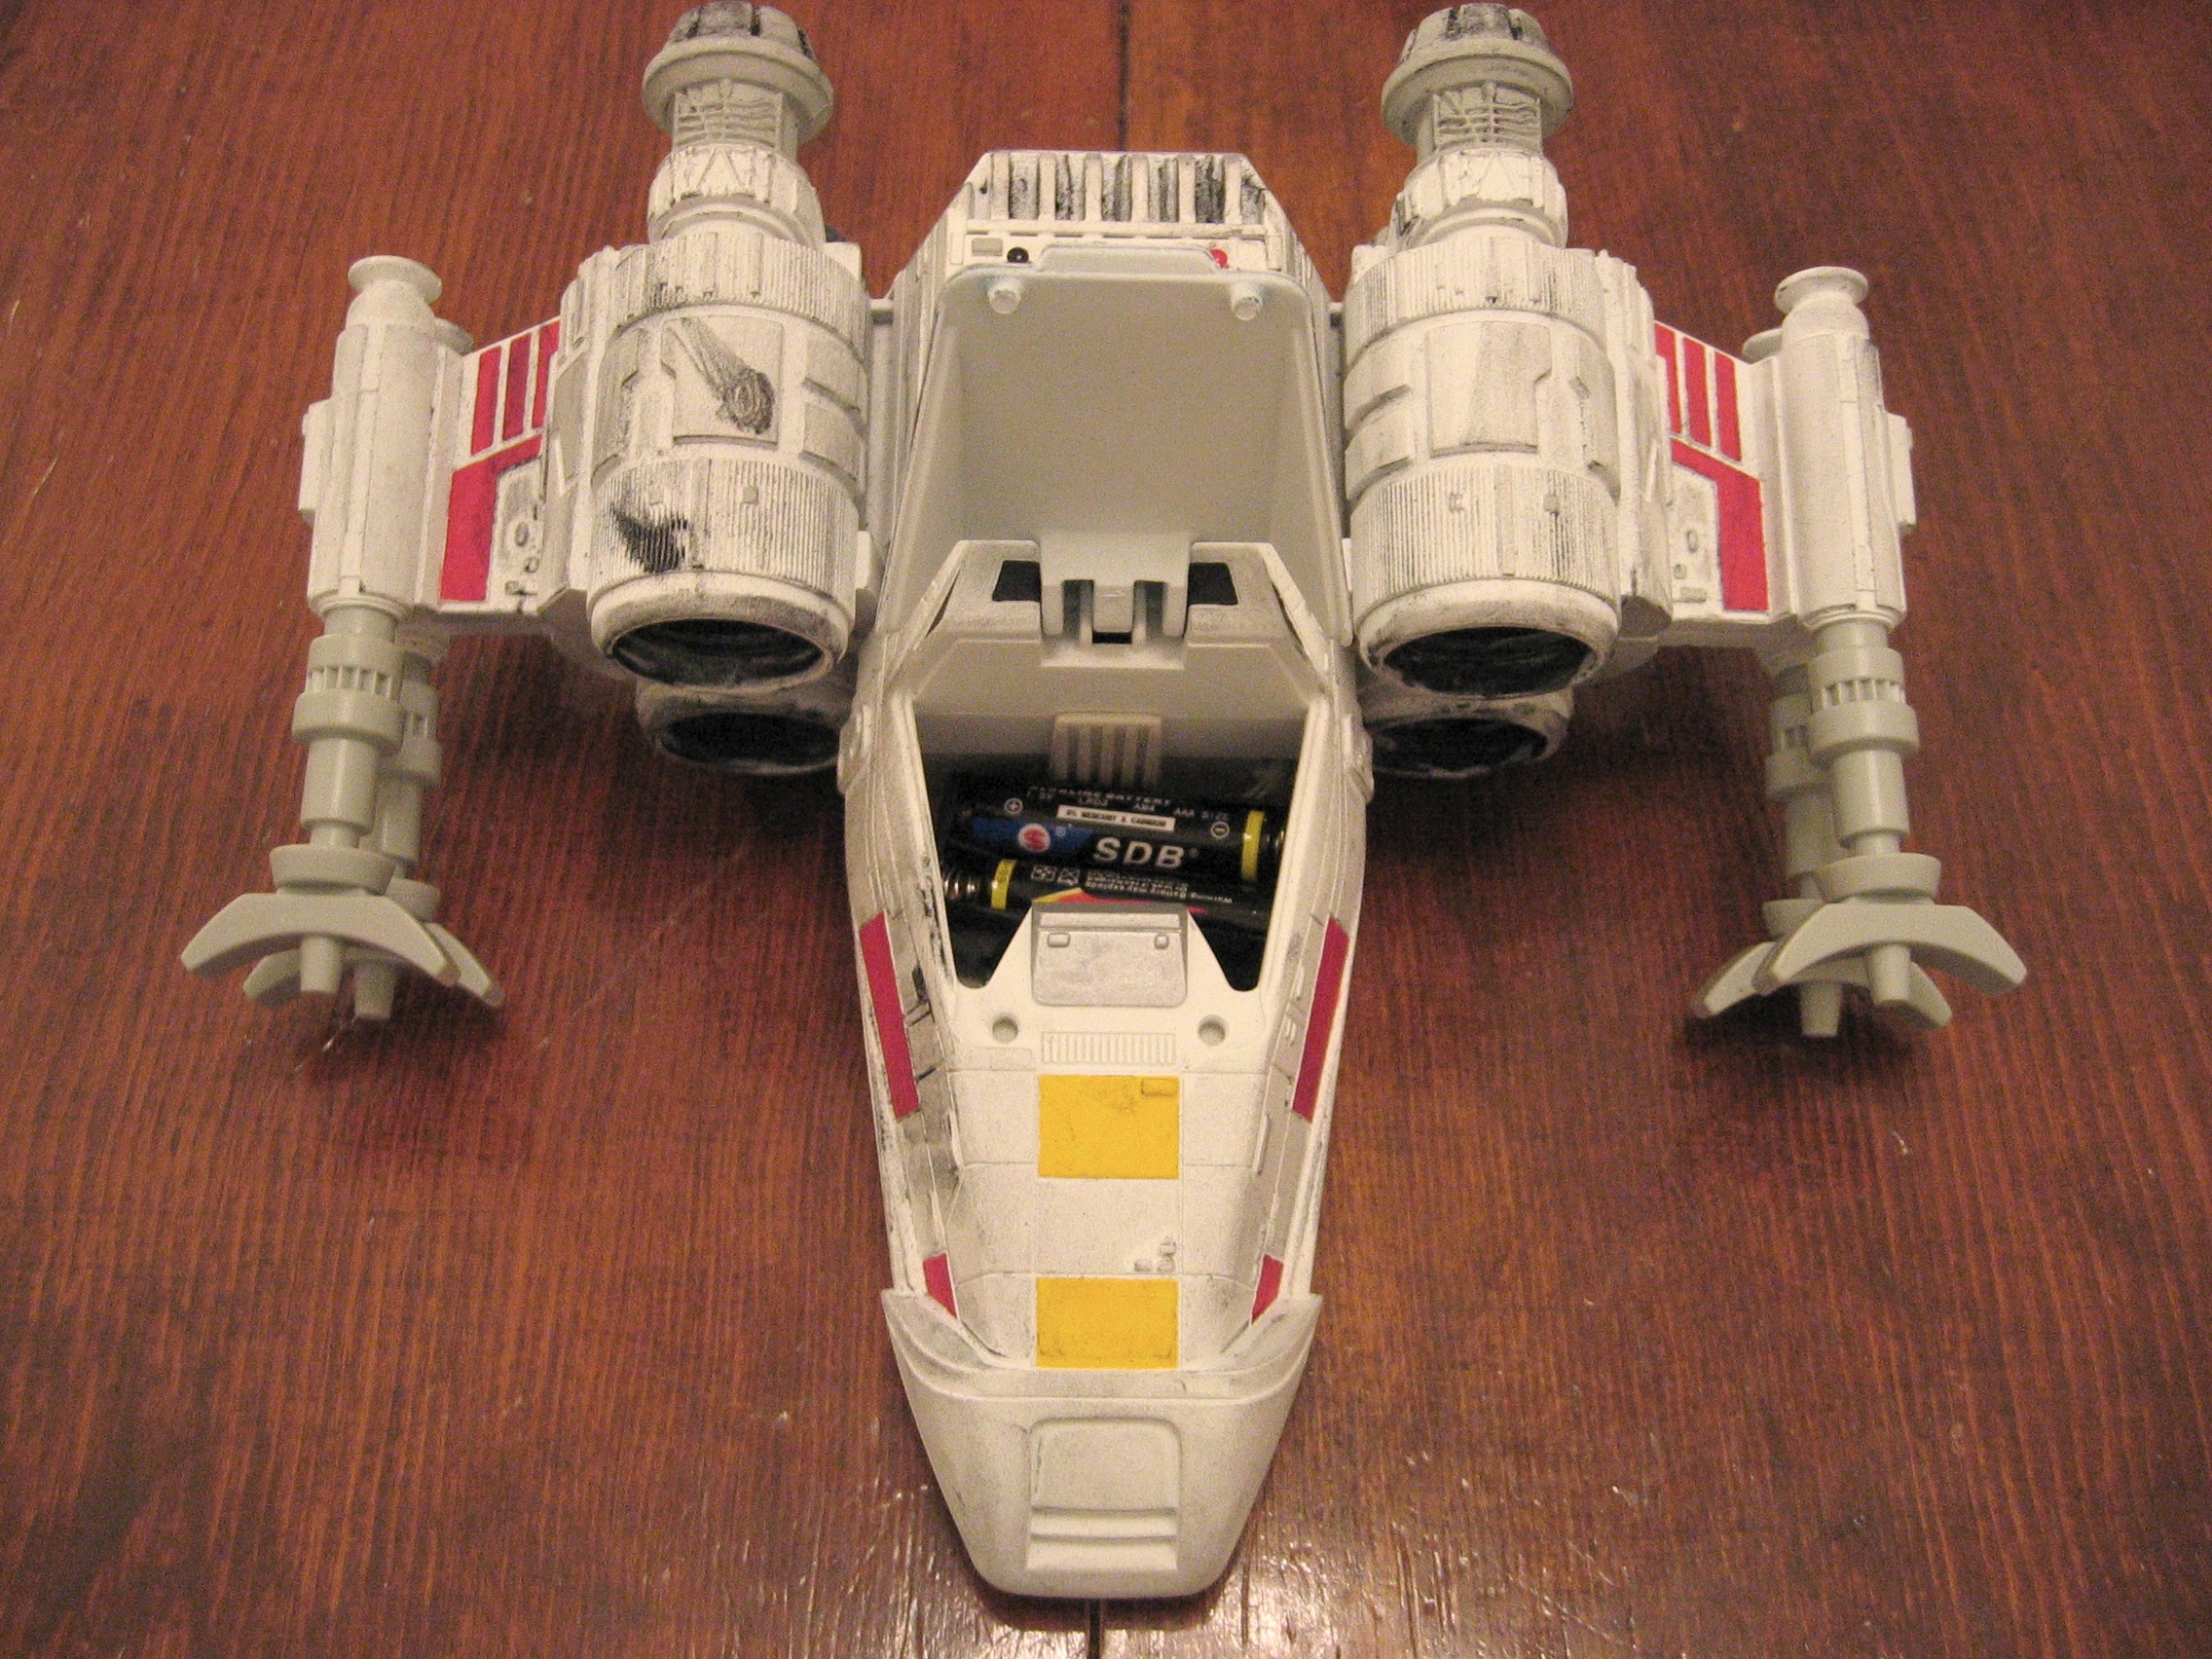
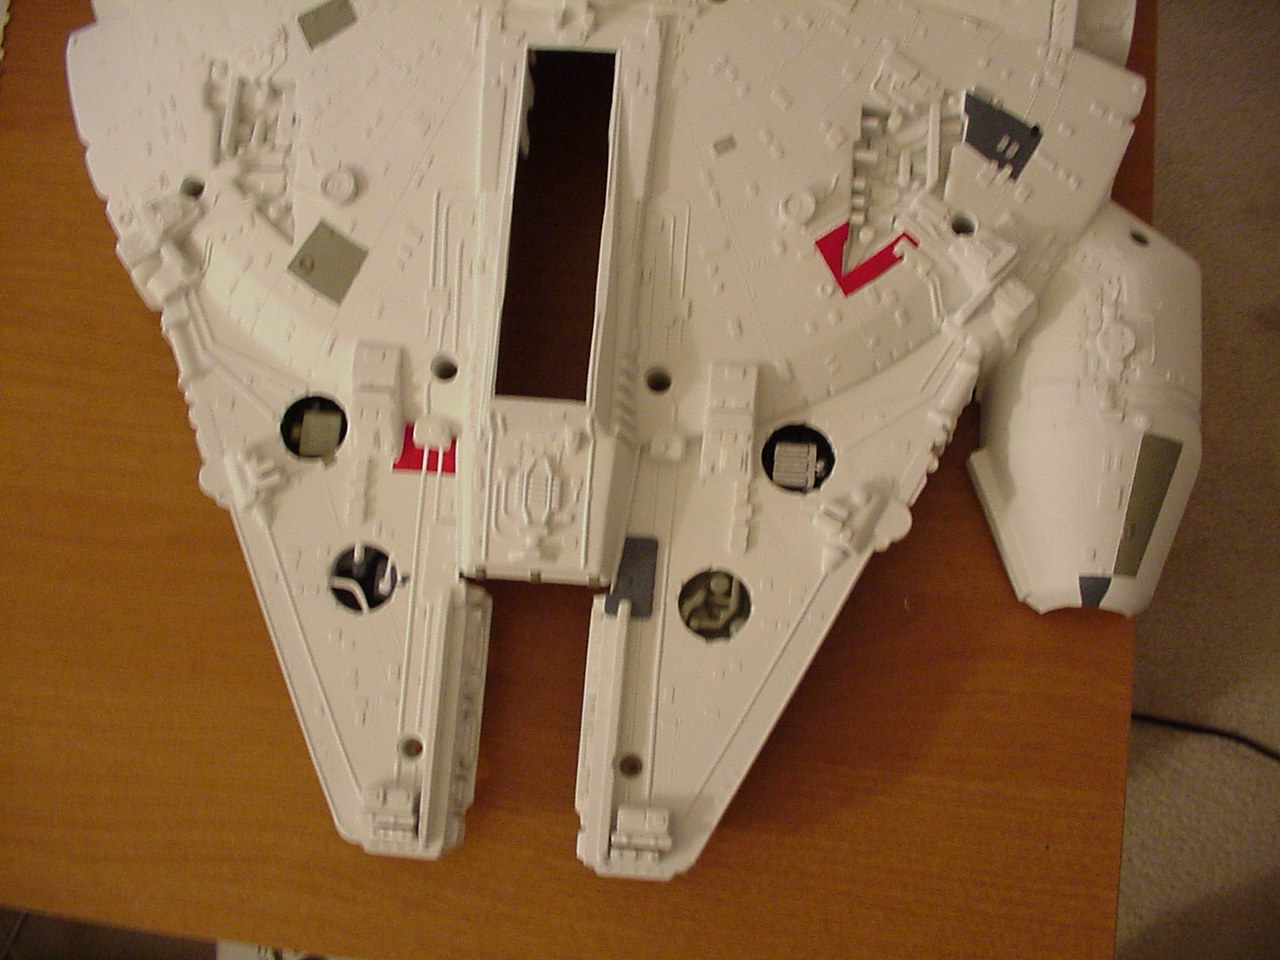
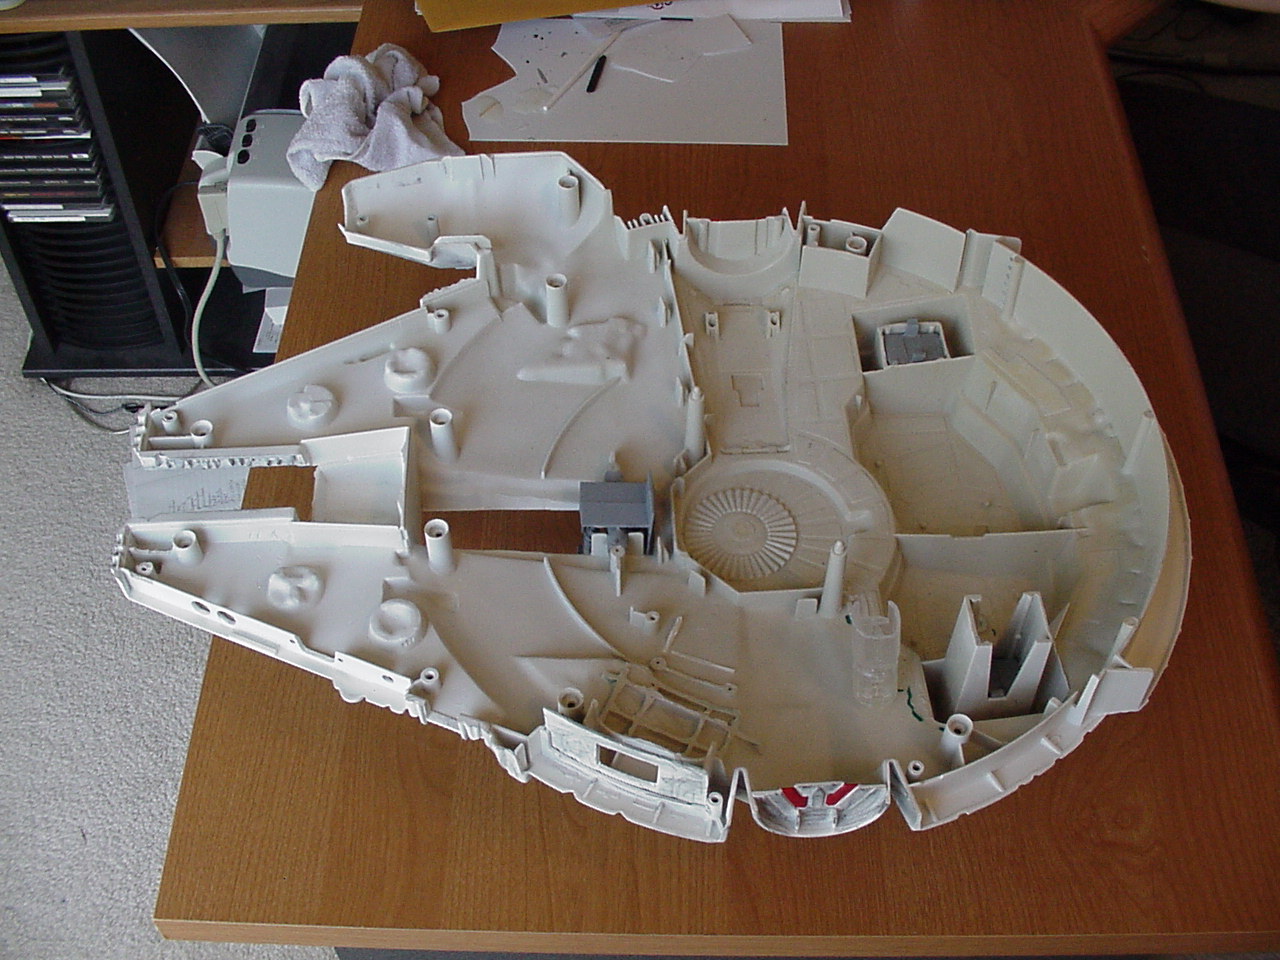
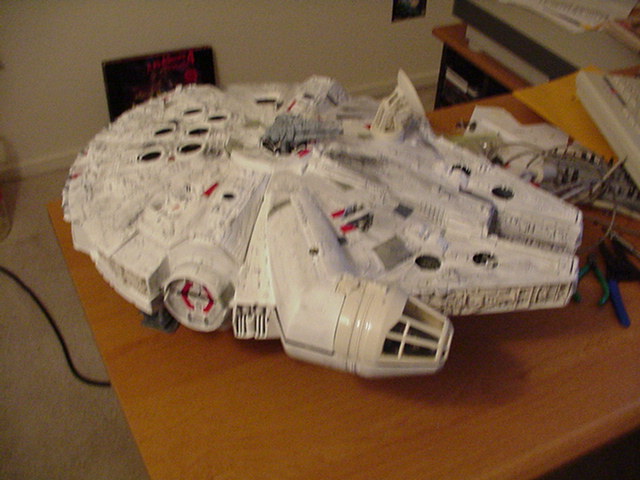
First, I had to aquire the basic body. Kenner used to make a toy of the ship for the action figures many years ago. Thanks to ebay, I was able to get one of these. It wasn't in the best condition (the plastic was yellowed from age) but that's OK.
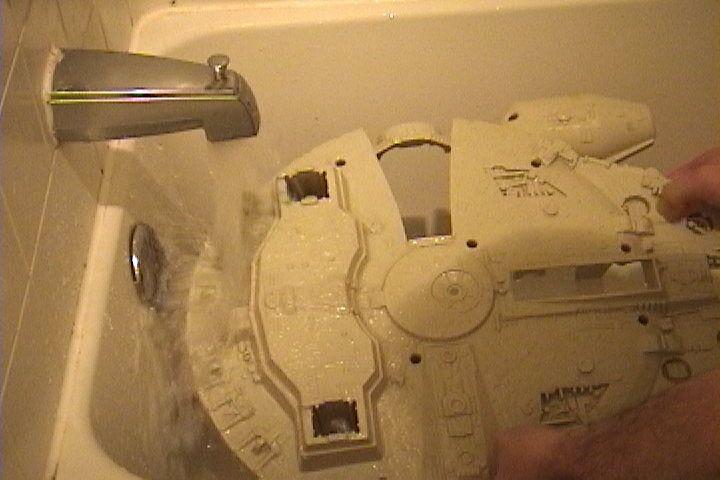
Nothing like a good bath, and after over 20 years, this toy certainly needed one! Of course, this also helped get rid of the stickers and adhesive... but that was just coincidence...
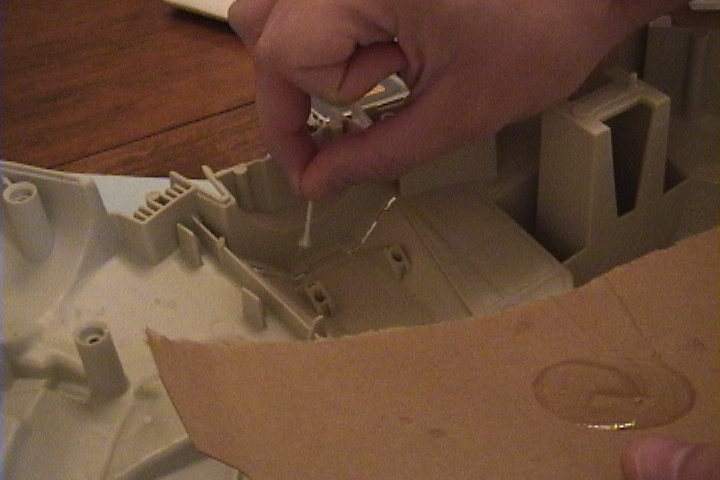
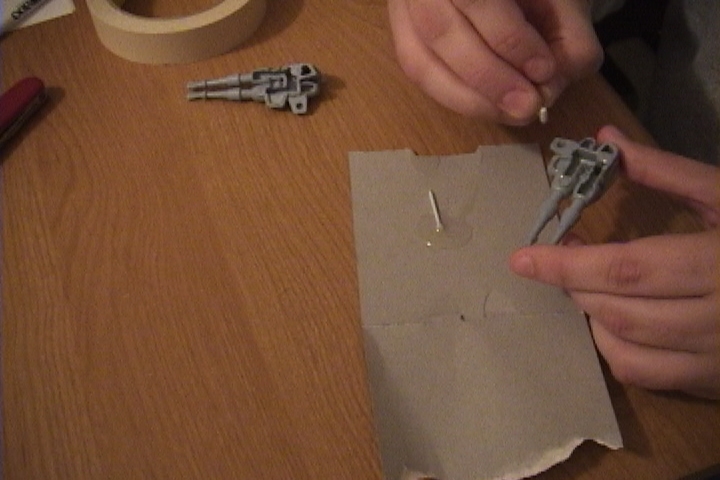
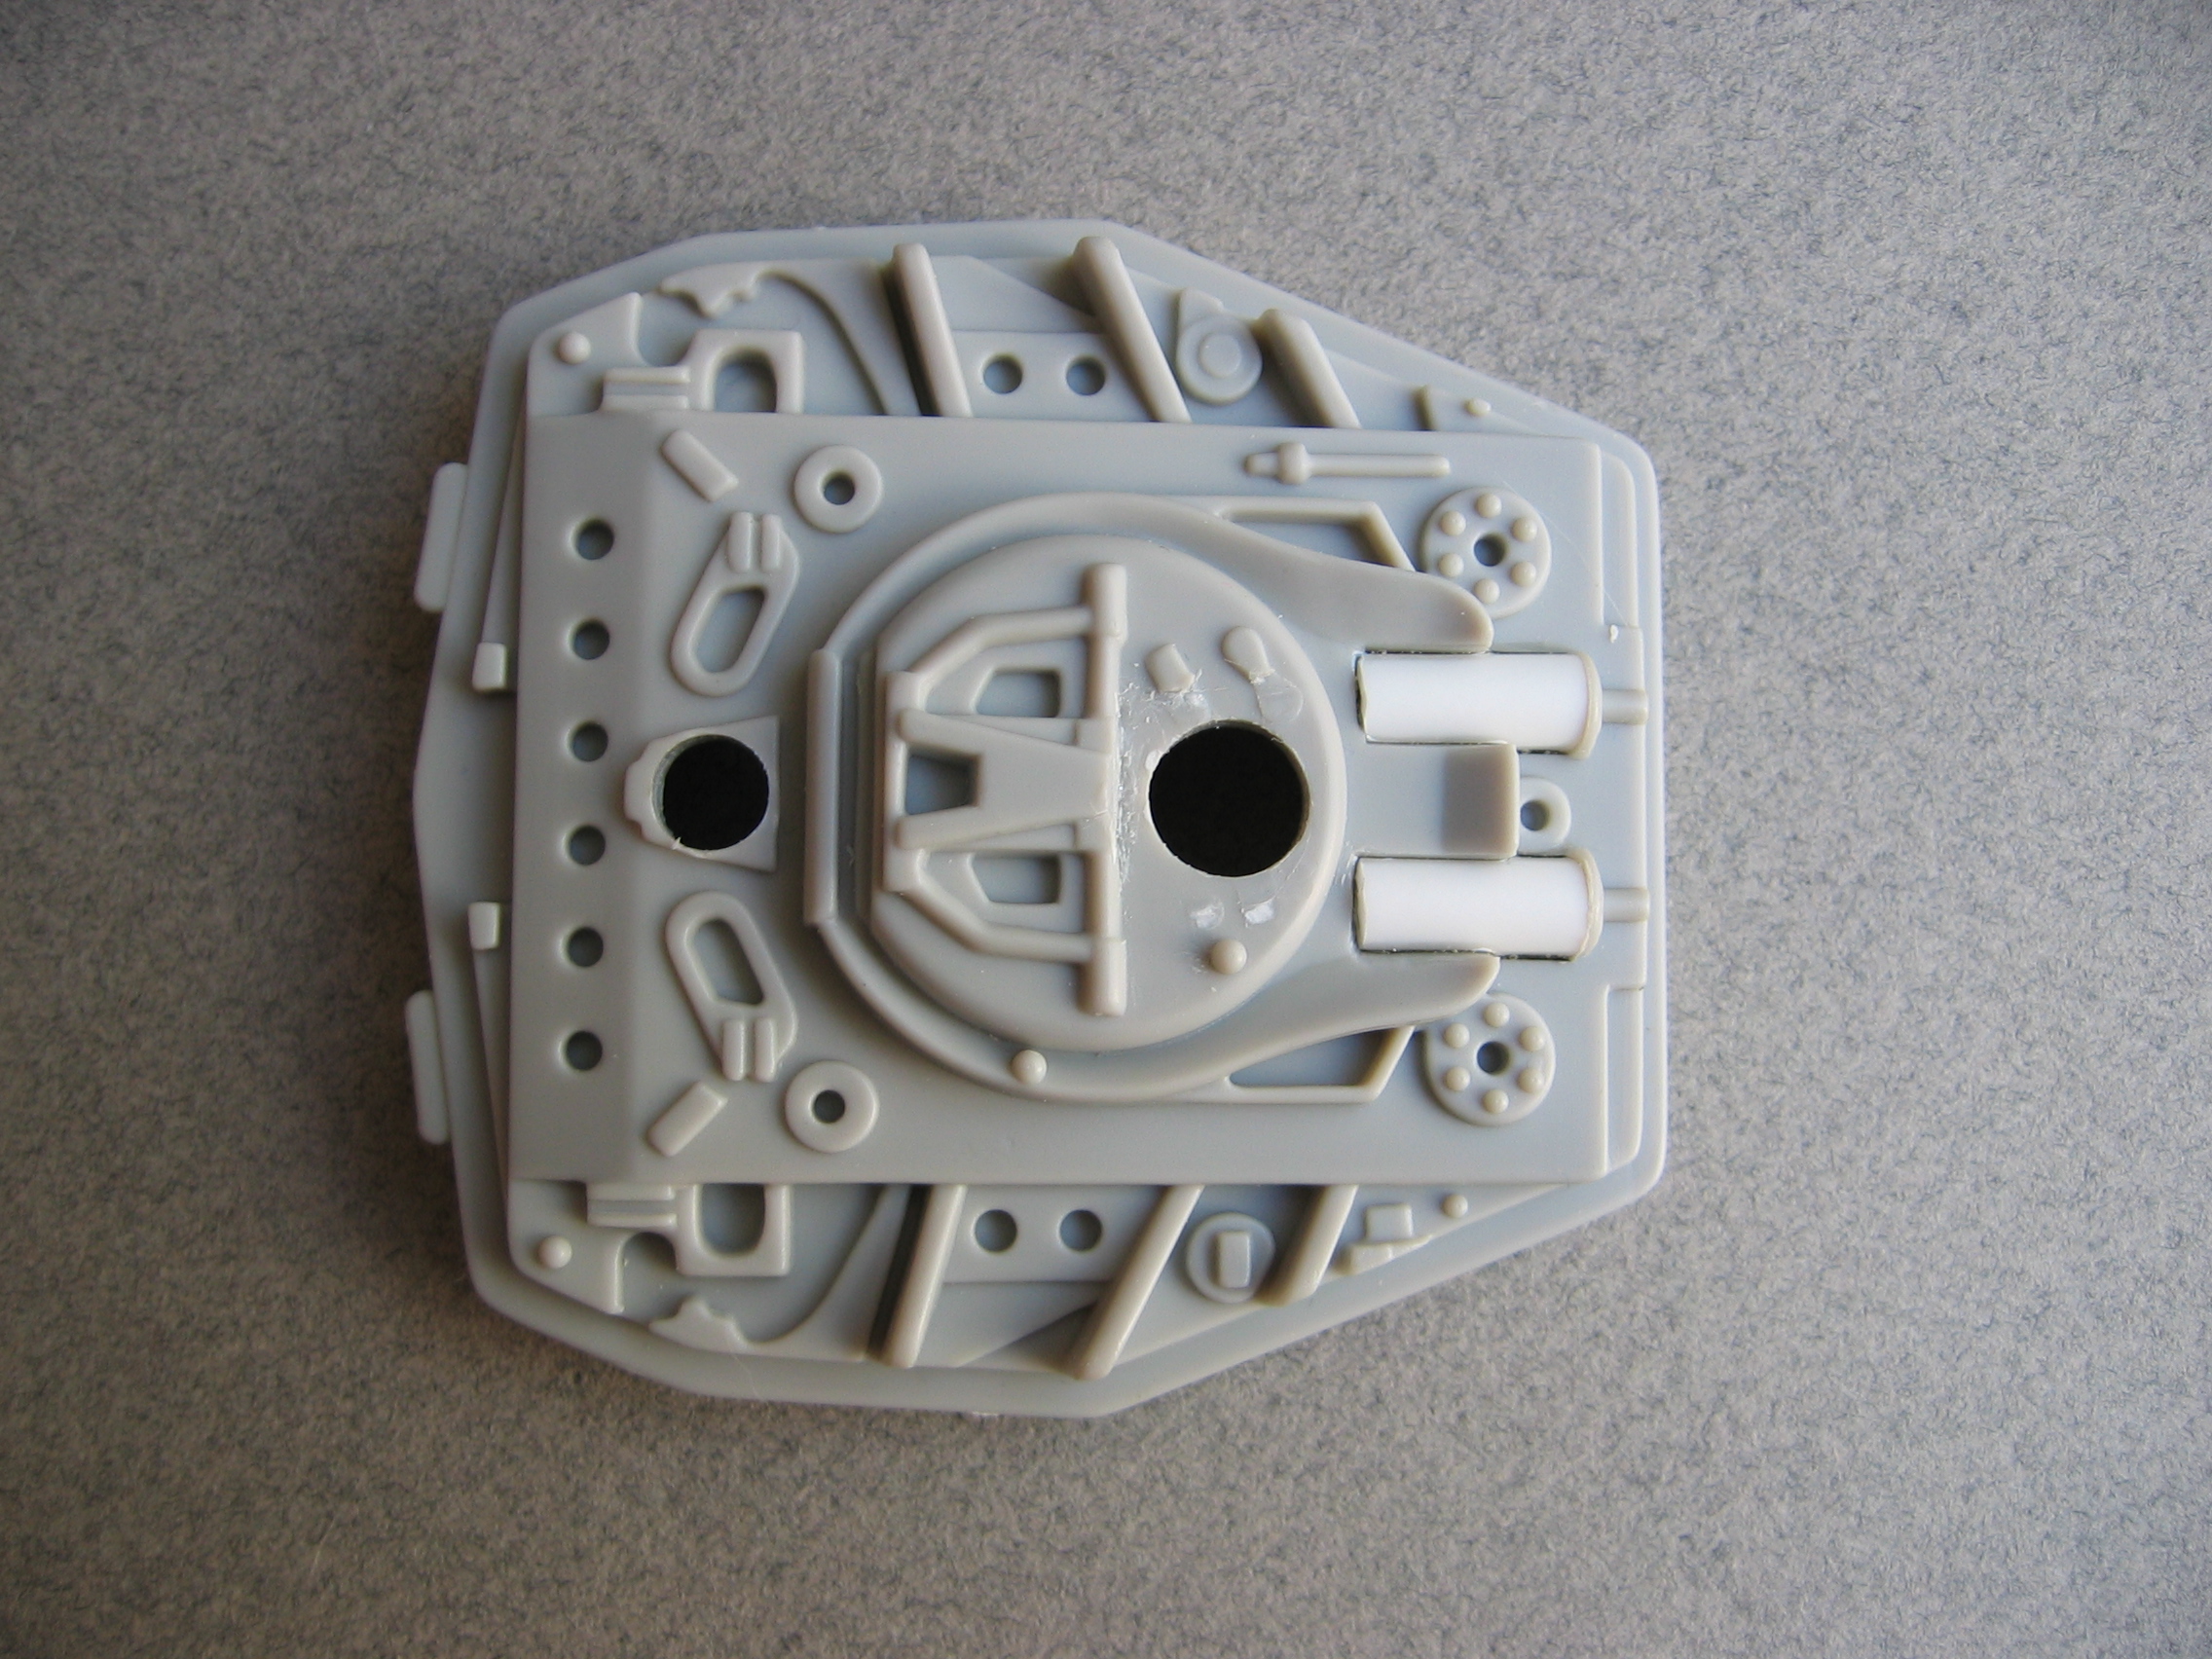
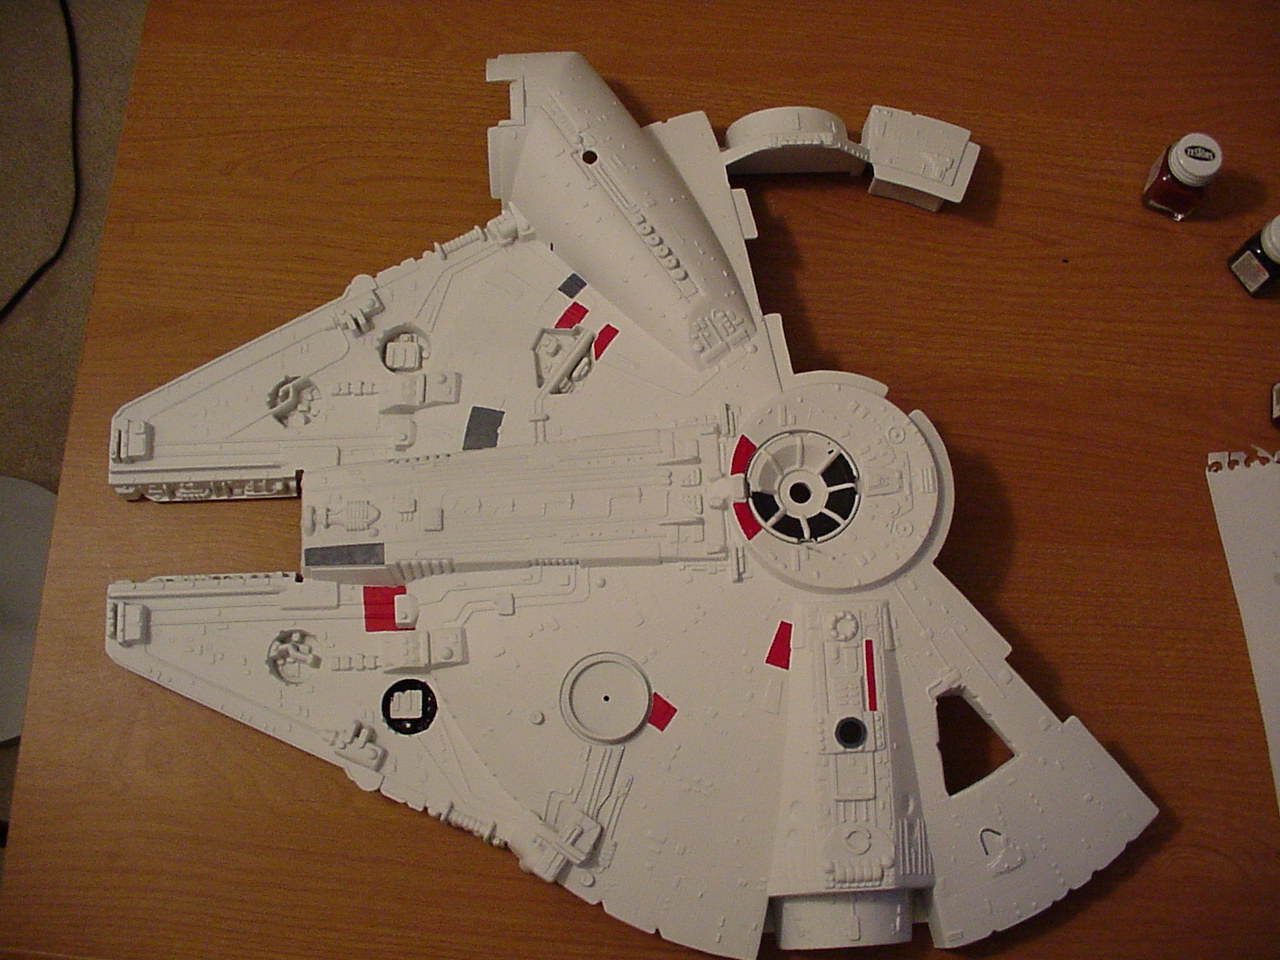
Here, I glued the lower hatch onto the main body. For my needs, I need it closed all the time. Also, I glued the two halves of the main gun together. Unlike the toy, my ship won't be able to rotate it's laser cannon. That's OK... I have lots of other surprises in store that will make up for the lack of a rotating laser cannon.
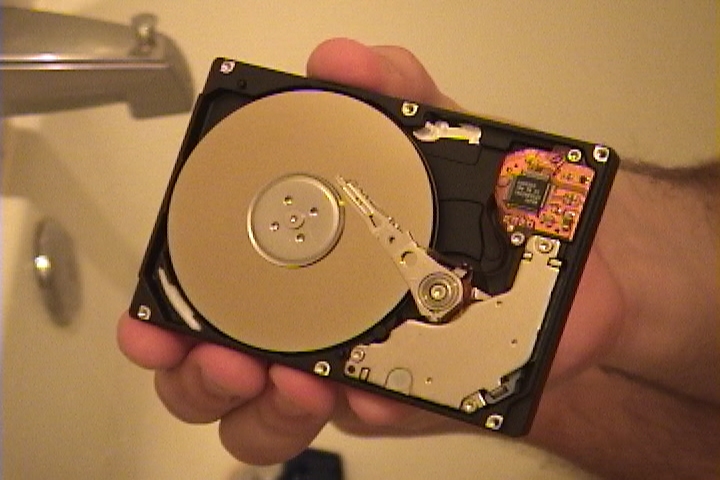
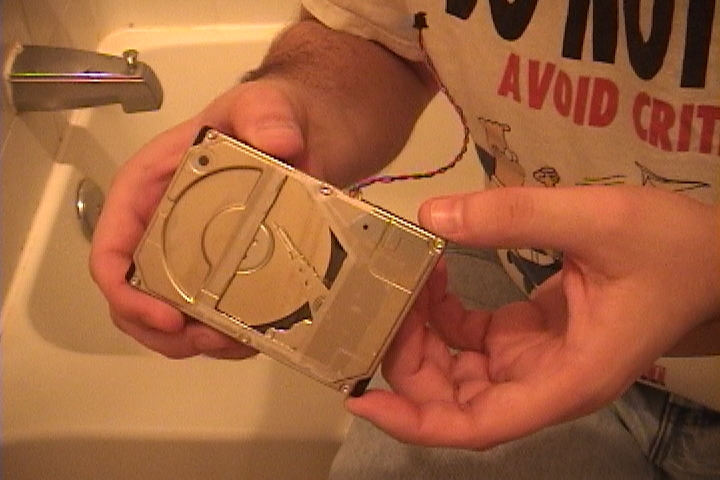
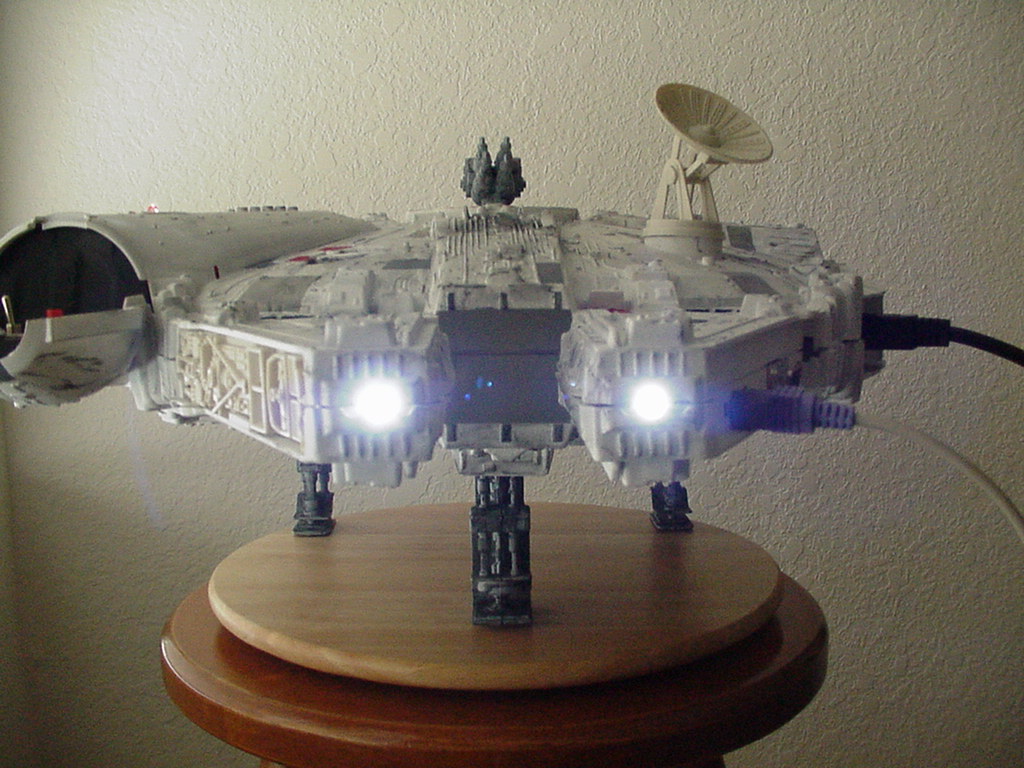
Now the first of several scary parts. I actually opened the hard drive to install a window. You might have heard of crazy people who have actually opened thier hard drives to install a see-through window. Yup, I'm one of them now. Basically, this entails opening the hard drive, cutting a hole in the case for the window, installing a nice bright LED inside, and closing it up while not getting a single particle of dust inside. The diference for me was that due to space limitations, I had to use a laptop hard drive... not much space there... Oh, the bright blue LED I installed in the drive also lights up whenever there is hard-drive activity on that IDE bus.
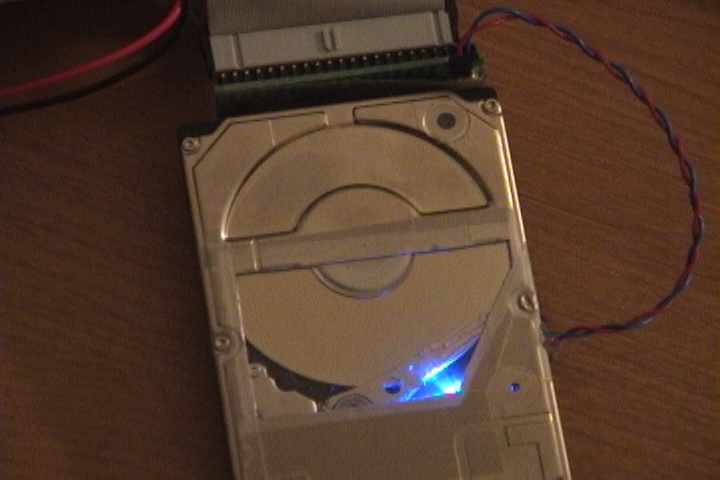
Probably the right time to test it to make sure it works. Success! I was a little shocked, but happy!
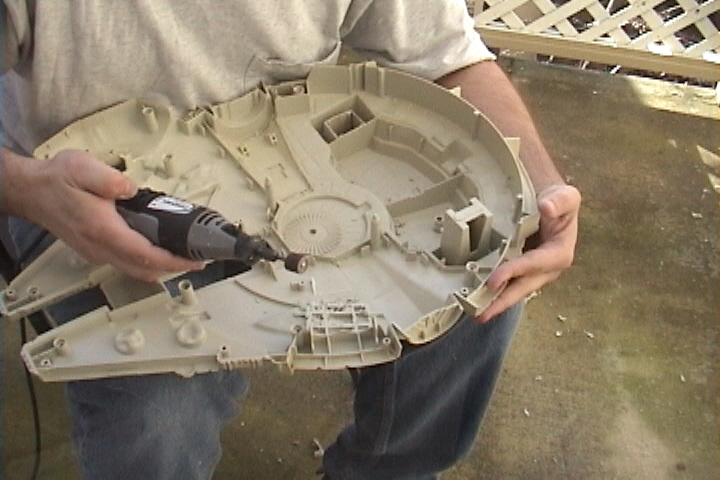
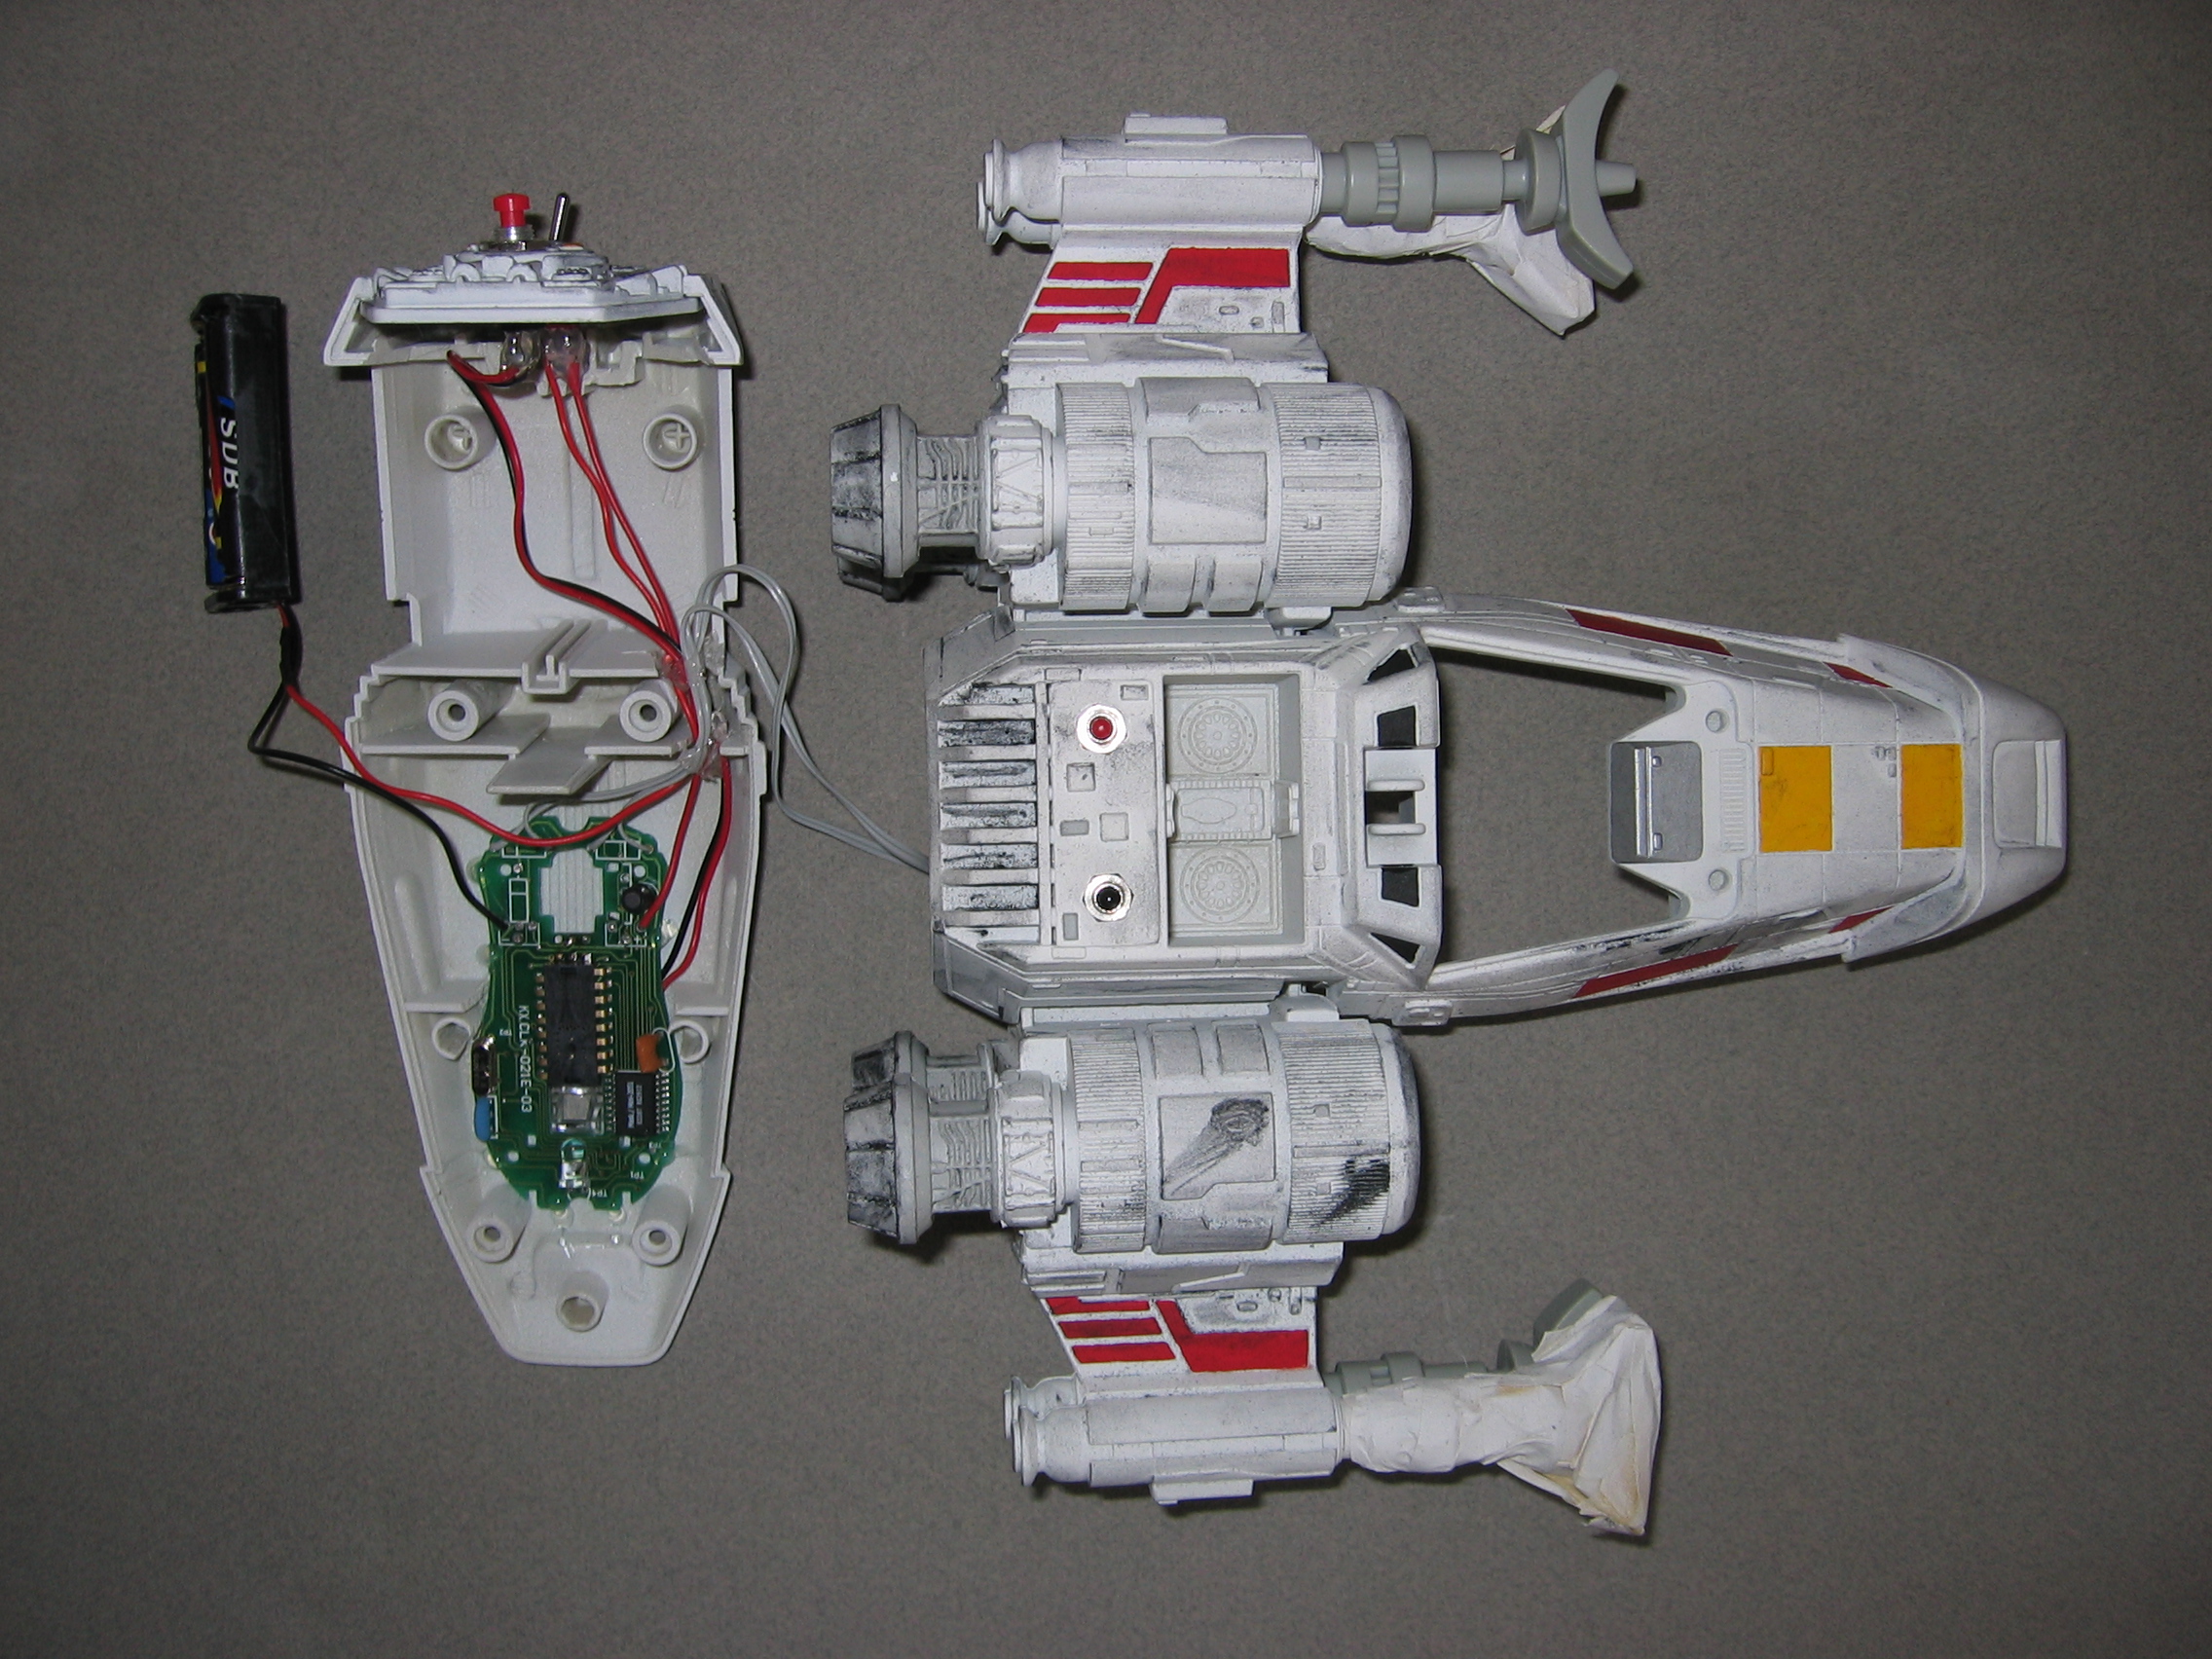
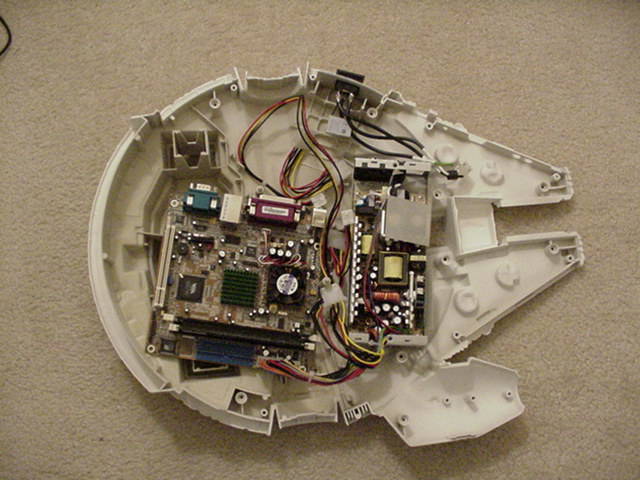
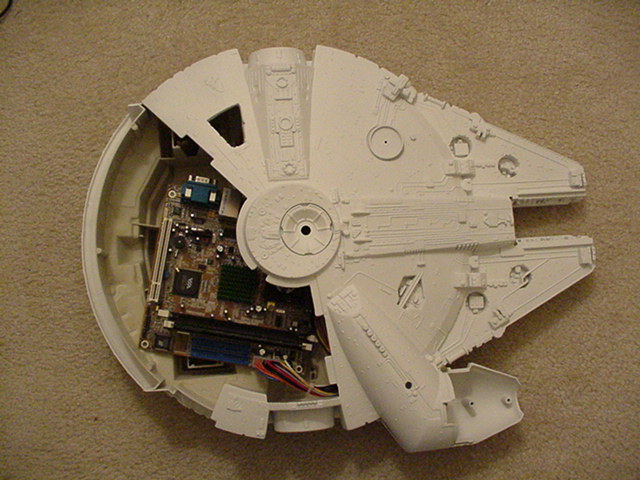
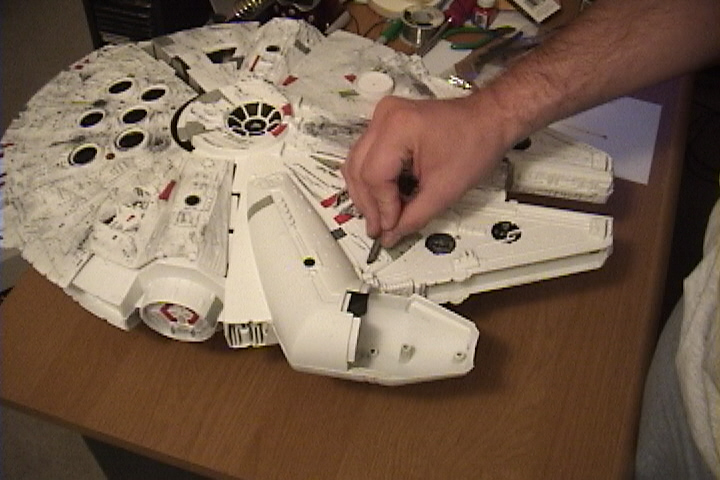
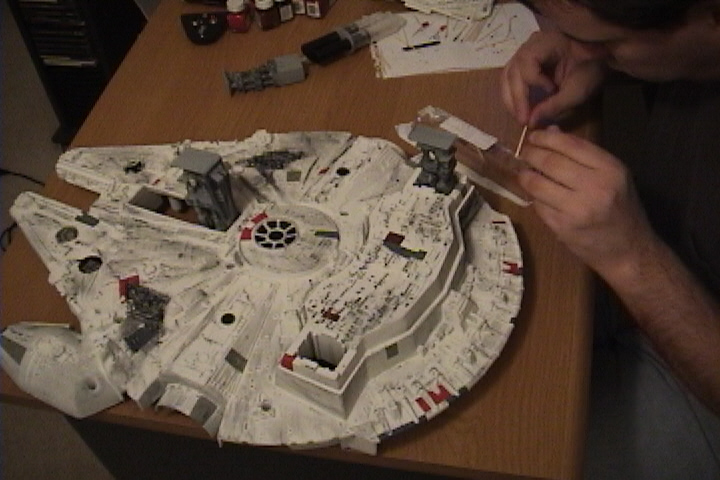
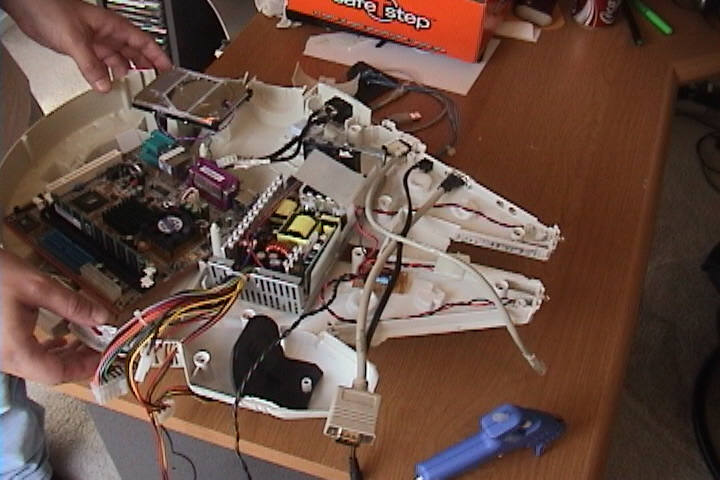
Now I grabbed my dremel and started cutting away all the pieces of plastic that were in the way of the components sitting inside the case. I also had to cut holes for all the ports such as power, video, keyboard, mouse, USB, audio, and LAN. It took some significant time to plan how everything would fit and where all the pieces should go.
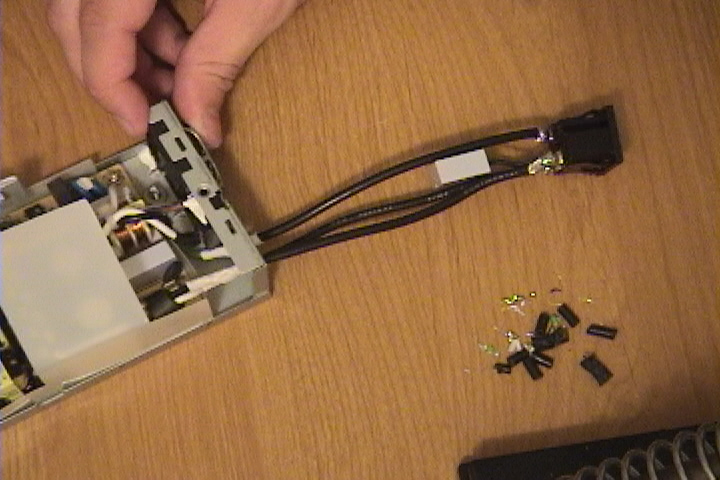
The power supply was a huge pain. First, finding a power supply that would actually fit inside the case, especially considering how thin the case is, was difficult. I also needed a way to get the power cord there. Ultimately, I had to open the power supply and lengthen the wires so the connector for the power cord could be mounted on the outside of the case.
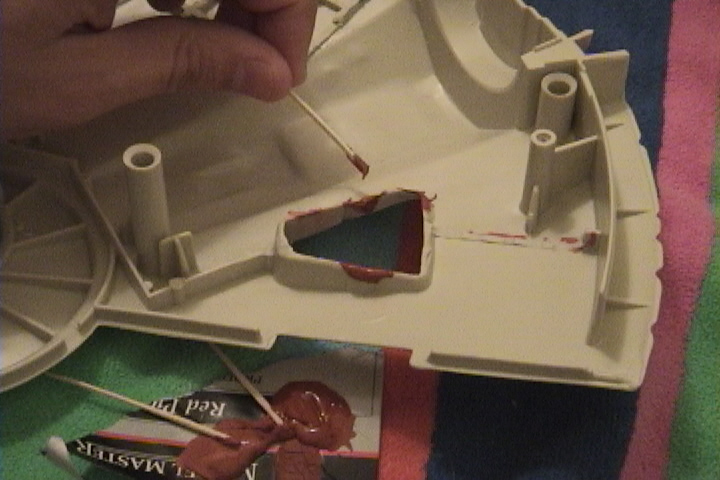
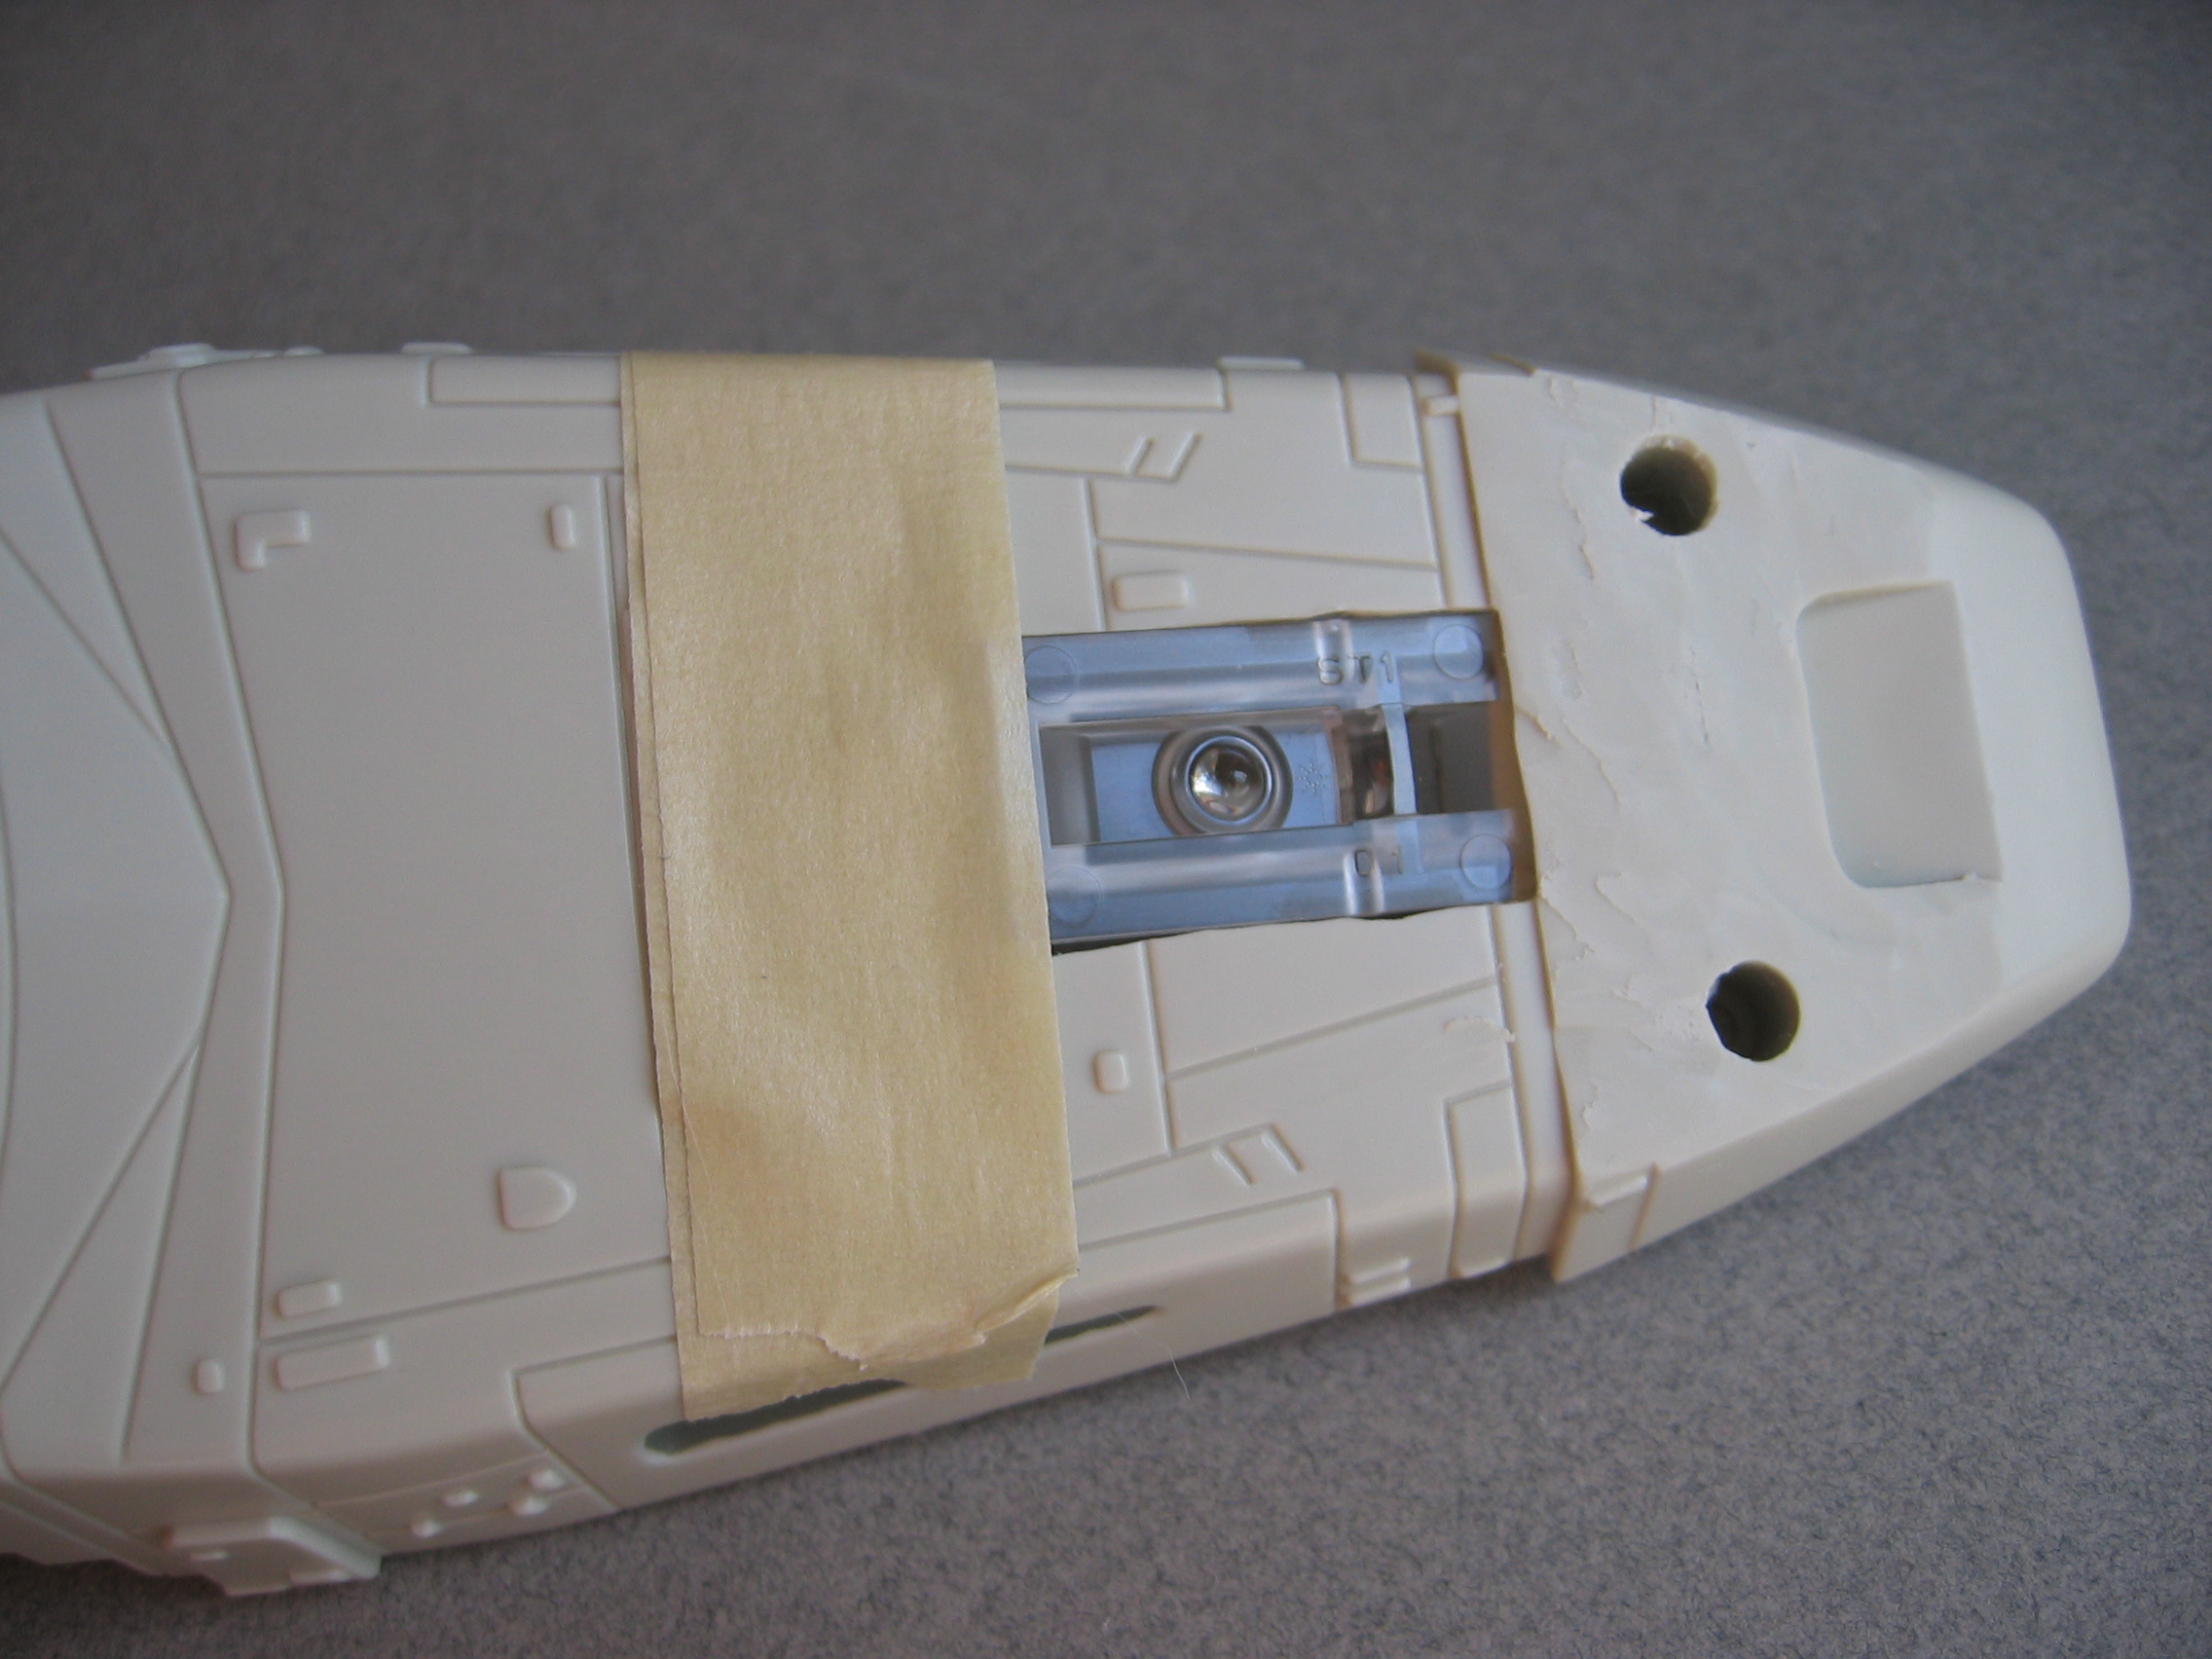
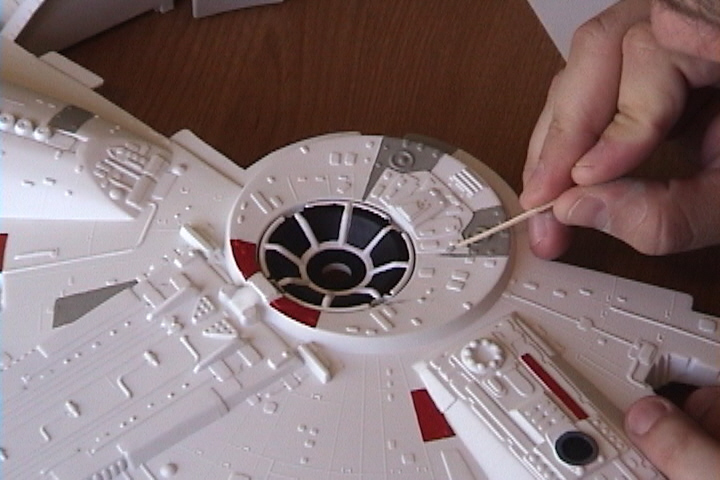
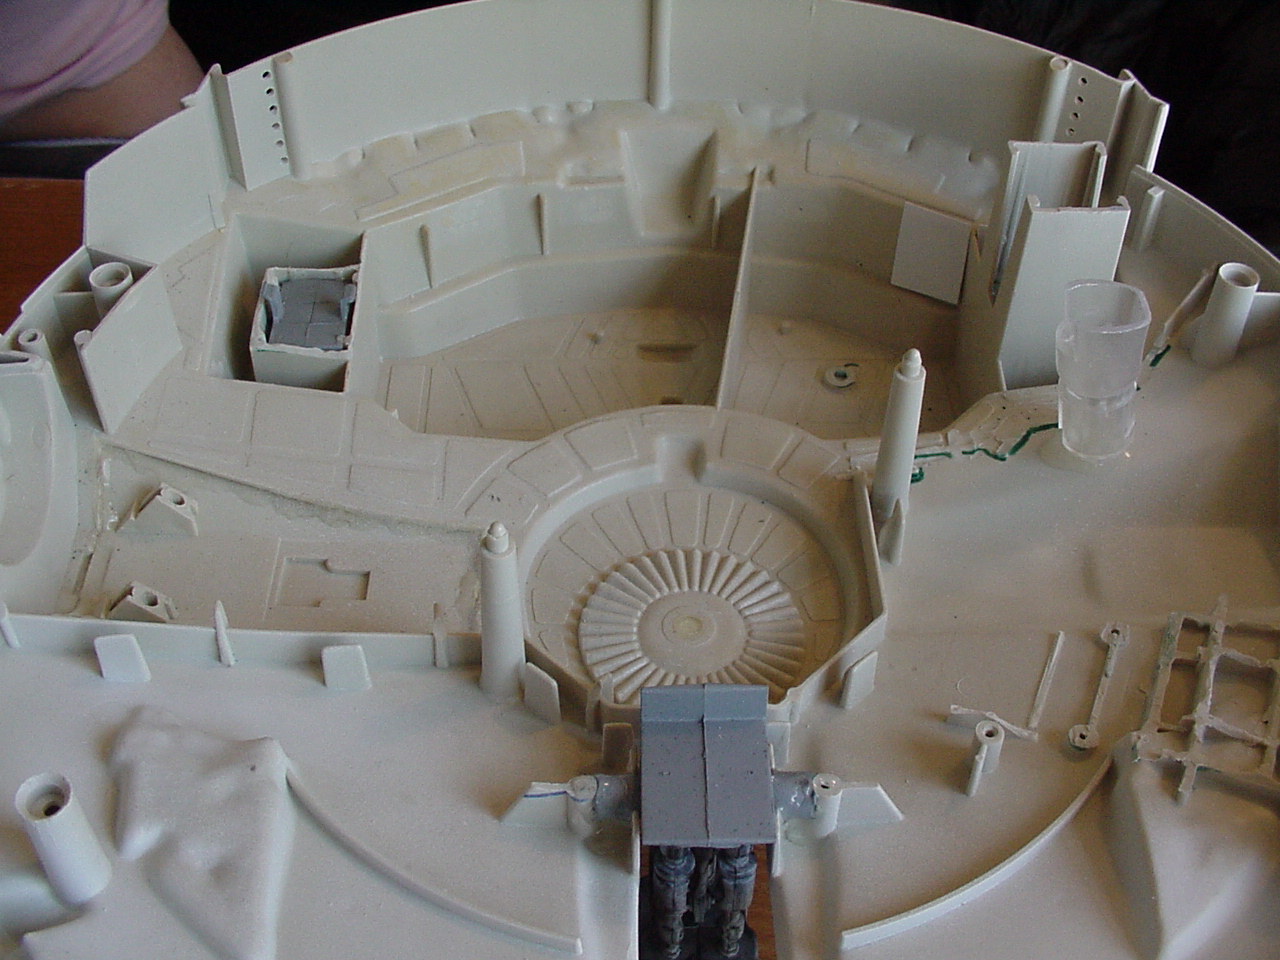
Another problem I encountered was the hole in the top of the case through which the hard drive would be visible. After removing the plastic circuitry that was there, several holes were left in the side of the panels. I had to use modeling putty to fill those holes, then sand it to the right shape. After applying some epoxy to reinforce the structure, I had a hole of the proper shape.
The extension cables for all the ports were something I had to think about also. Some were easy. For the PS2 ports, I simply used extender cables that I hot-glued into place. But others were harder, like the video cable. I had to take an existing cable and cut it to the right length and solder a new connector on. Argh... 15 wires and ground...
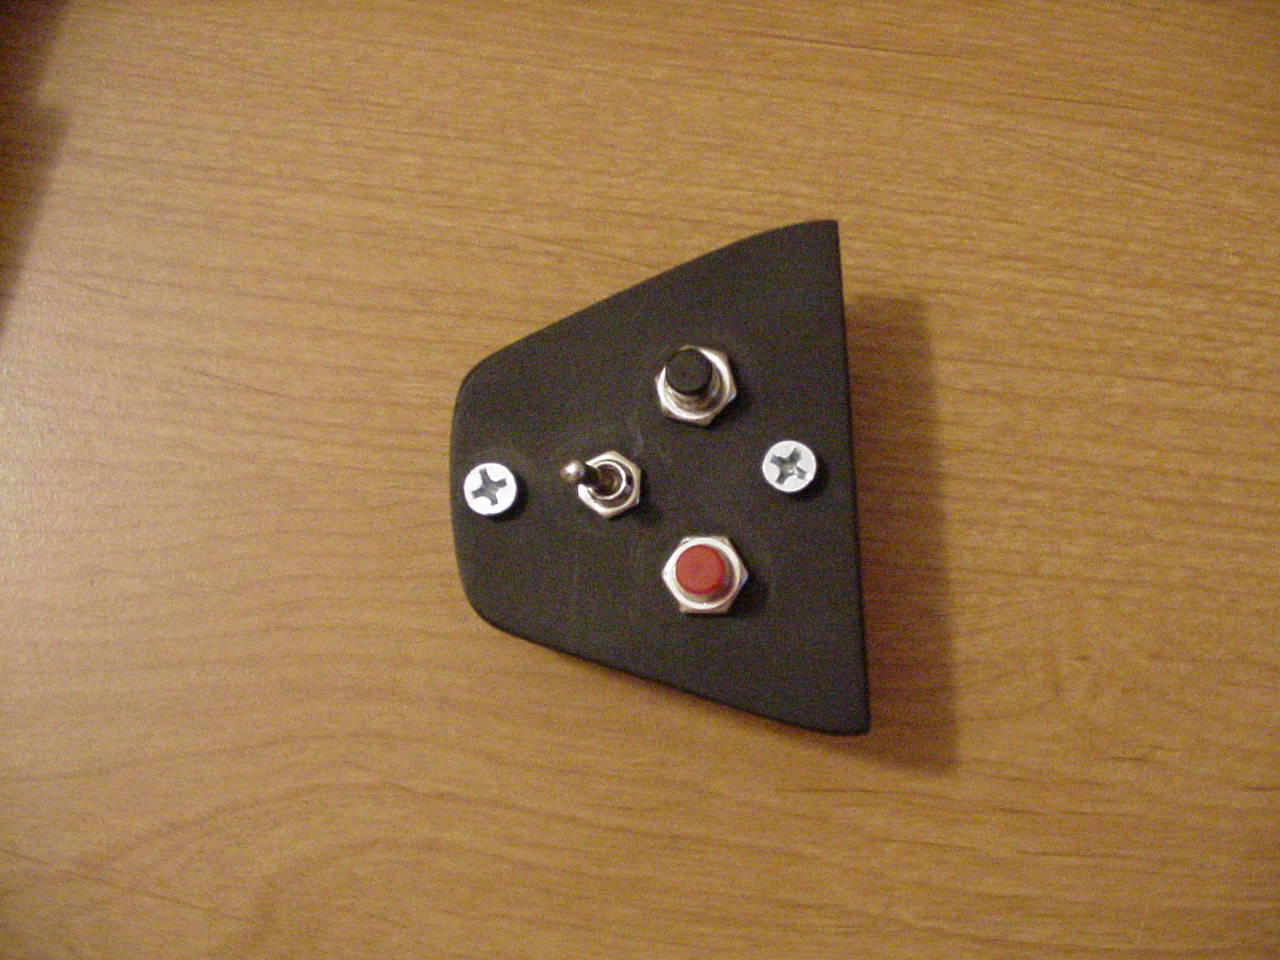
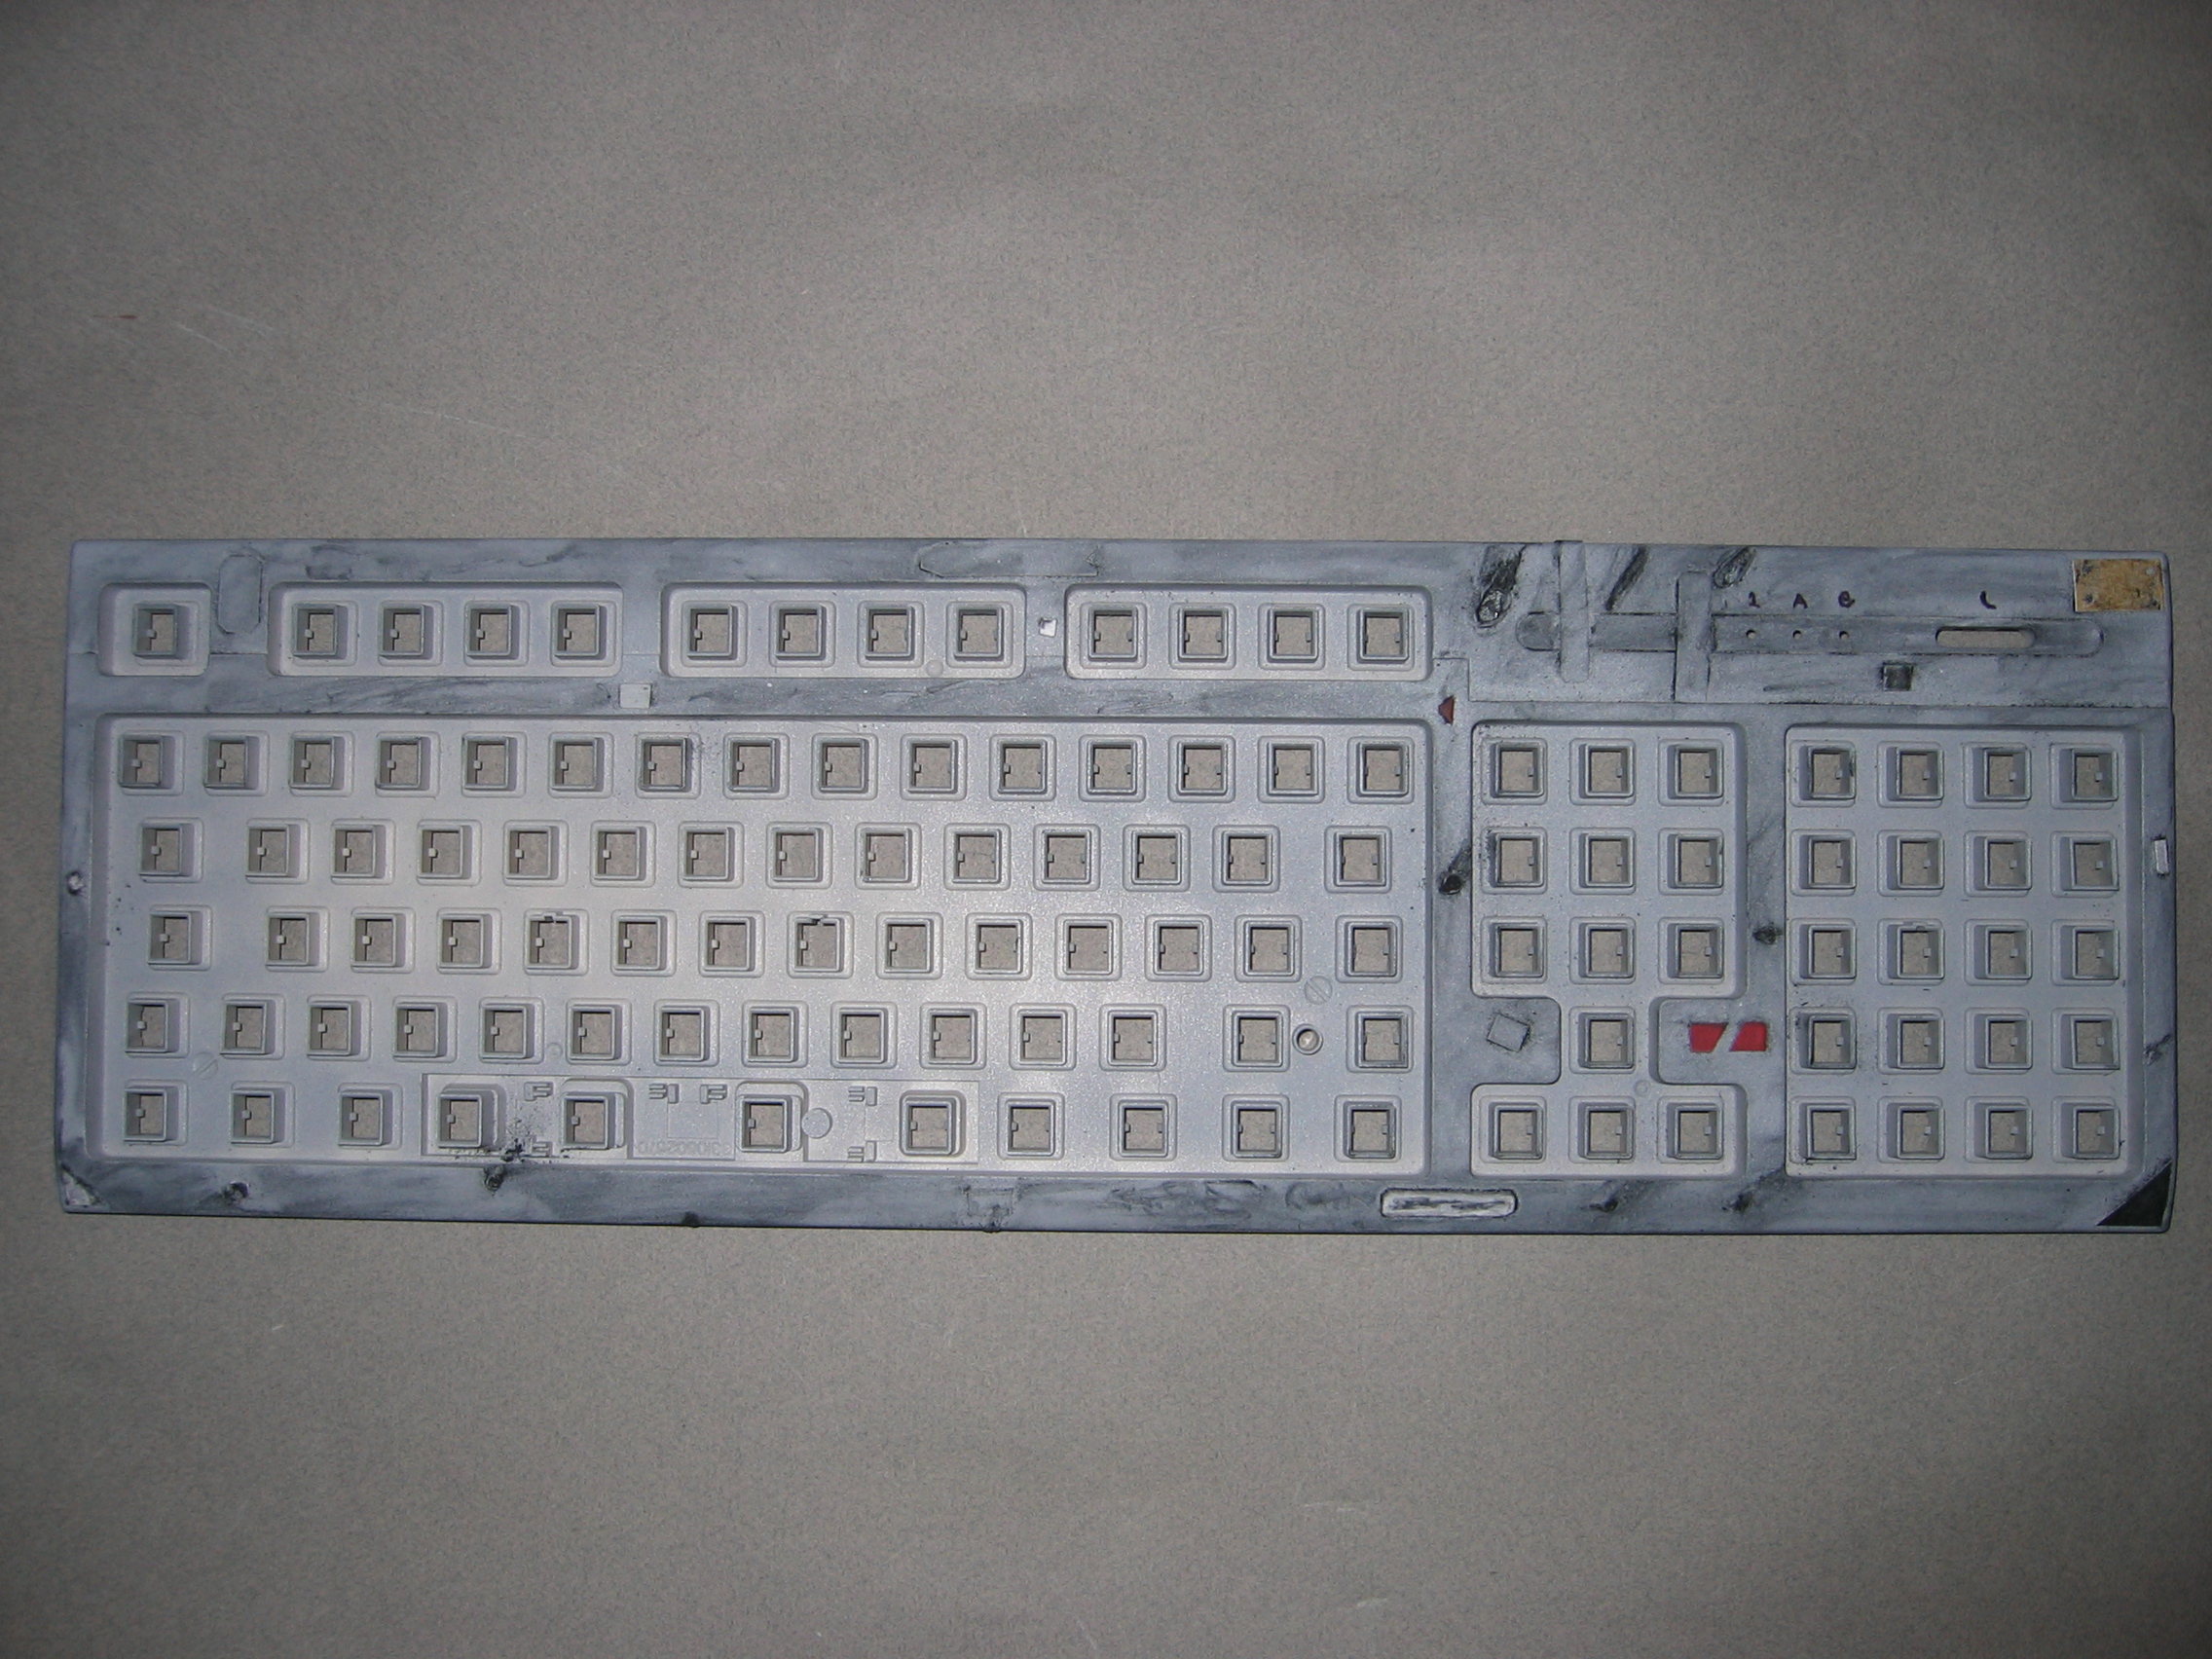
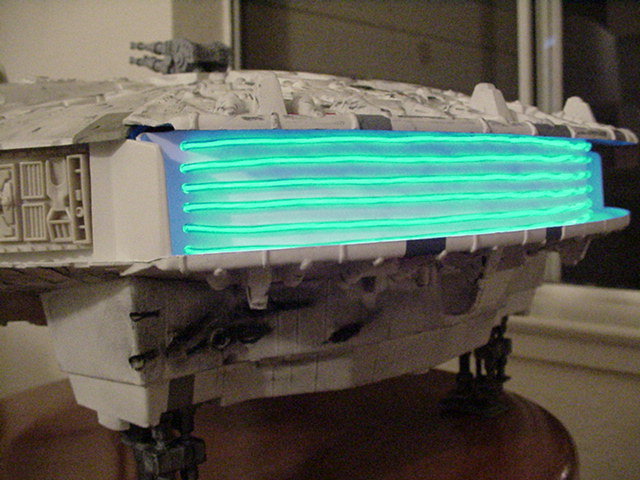
Next I worked on the control panel. I needed 3 switches on this computer: power, reset, and power for the engines. Yes, I added working engine lights based on blue electro-luminescent wire. The control panel itself is made from wood, heavily sanded, primered, and painted black.
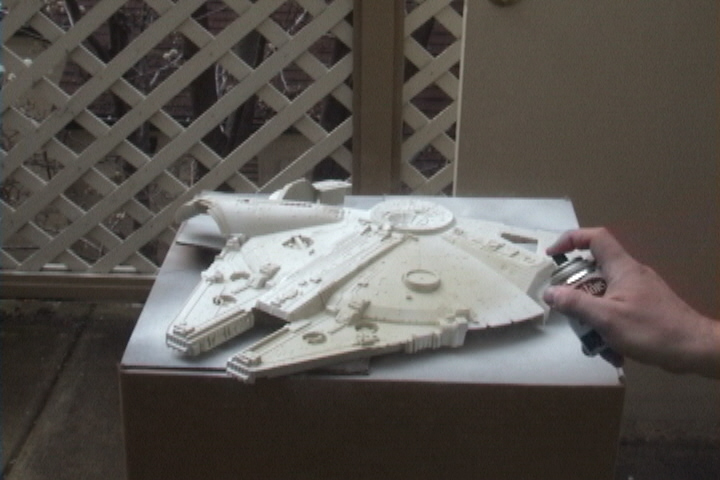

By far, the most time-comsuing aspect was the painting. Using spray paint, and lots of it, I laid down the basic colors on all the pieces, being careful not to cause any drips or runs. After enough coats, and drying time, I moved on to the detail painting. This meant coloring all those little panels the Falcon has, trying to somewhat match what the actual model looks like. After getting done with all that, then I used some charcoal to "sketch" some burns marks and dirt on the toy.
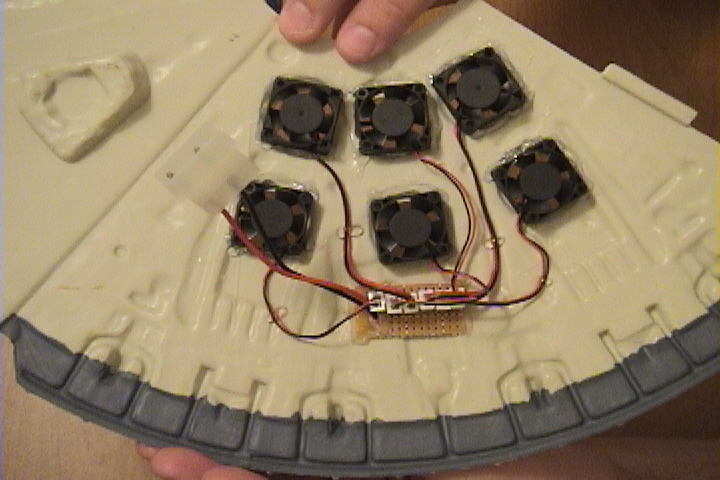
The back cover was going to have the exhaust vents, so after I had it all painted I had to glue 6 laptop fans to the cover. I also built a little circuit that connected all the fans to the computer's power to spin those fans.
Time to glue the legs on... the entire weight of the computer would be resting on these, so I used some high-strength epoxy.
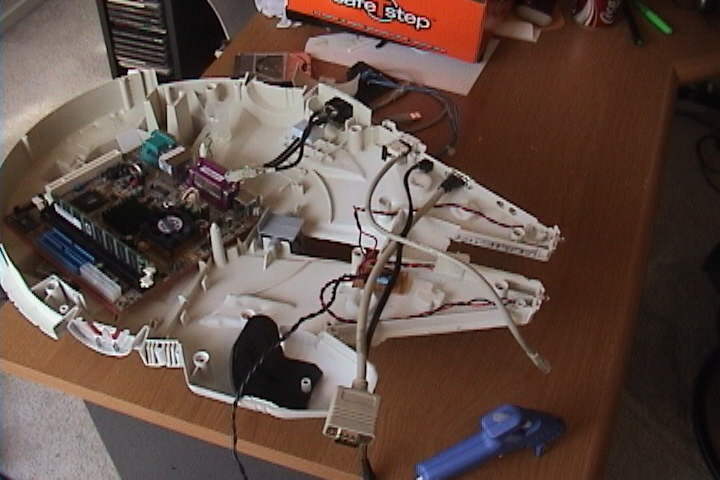
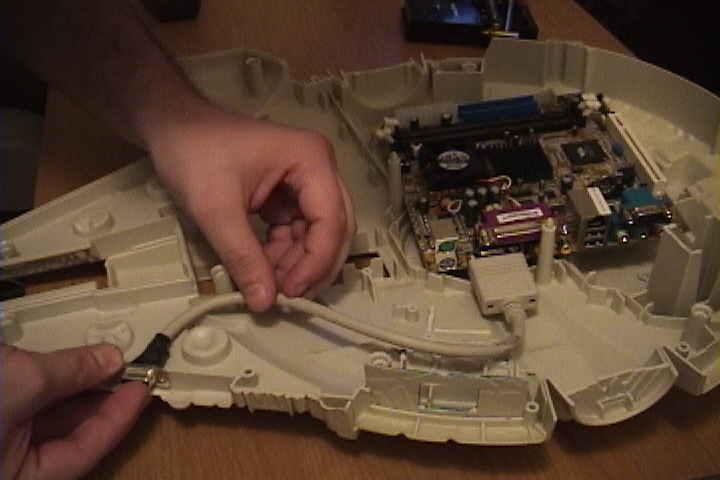
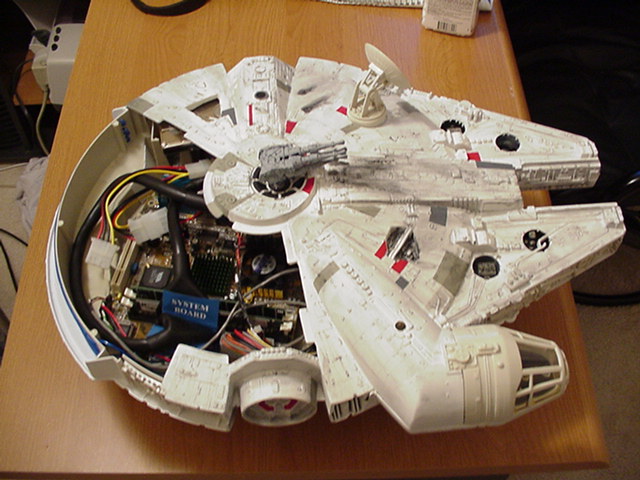
Finally, I could put everything together. Everything fit inside, put it was somewhat tight. Luckily, I menaged to plan the basic layout well and hit no significant problems. Most components were held in place simply by the strength of the case itself, but in a couple places I used double-sticky tape or hot-glue.
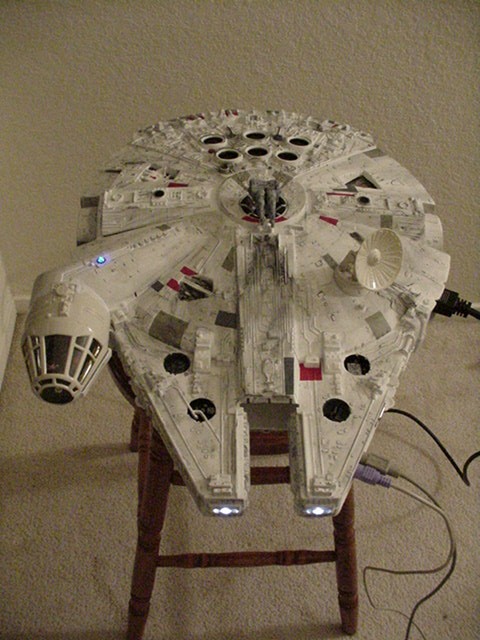
This was a great mod. It's unique, it was fun to do. Again, if you want
more details on this mod plus insight on some of the other mods I've done,
please visit http://outermods.xkill.com.