 |
 |
 the speakers - notice how I moved the volume controls remotely the speakers - notice how I moved the volume controls remotely |
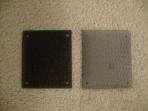 speaker grills - one painted, one not - hard stuff to cut and grill speaker grills - one painted, one not - hard stuff to cut and grill |
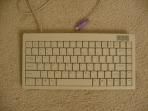 keyboard - later replaced with a grey one keyboard - later replaced with a grey one |
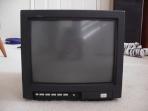
 old 15 inch monitor - front removed and painted black old 15 inch monitor - front removed and painted black |
 full frontal full frontal |
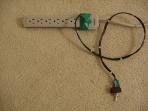 power strip with switch moved to be remote - PITA power strip with switch moved to be remote - PITA |
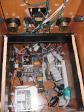
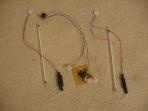 green cold cathodes and mystery circuit green cold cathodes and mystery circuit |
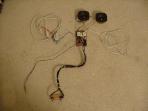
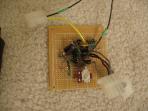 mystery circuit - cold cathode alternate throbber mystery circuit - cold cathode alternate throbber |
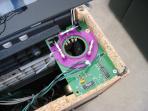
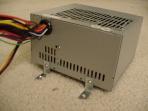 power supply with mounting brackets power supply with mounting brackets |
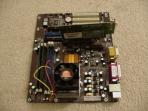 motherboard / video card / cpu motherboard / video card / cpu |
)
)
)
)
)
)
)
)
)
)
)
)